This article / video will go through how to create a new Part Record in Blackpurl
New Part Records are generally created when you upload a Vendor Price File but there may be times that you need to manually add a new Part Record
Please note that the Vendor must already exist in Blackpurl - If the Vendor does not exist in Blackpurl then you will need to add the new Vendor first
This article will assist - How to Create / Add a New Vendor
Video - How to Add a New Part
Article - How to Add a New Part
- From the Blackpurl Header > Click on
 >
> 
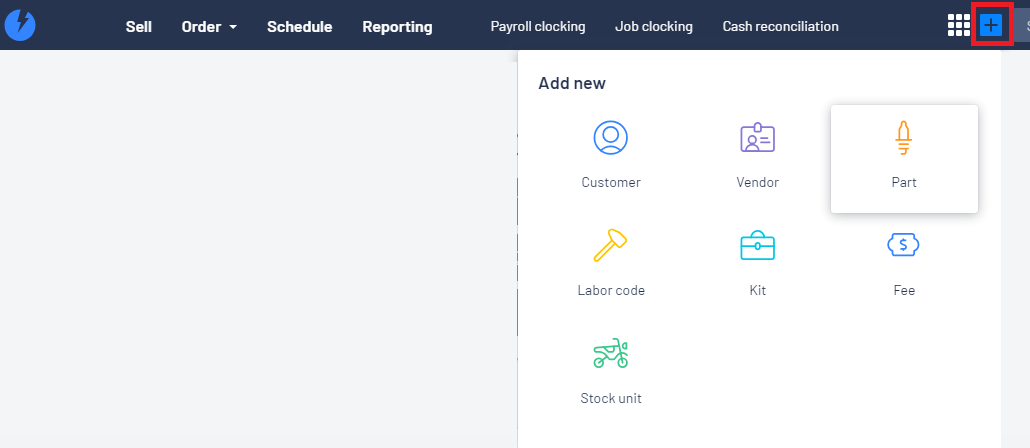
- Complete the relevant details on the New Merchandise window (just work your way slowly down the fields) and then click on

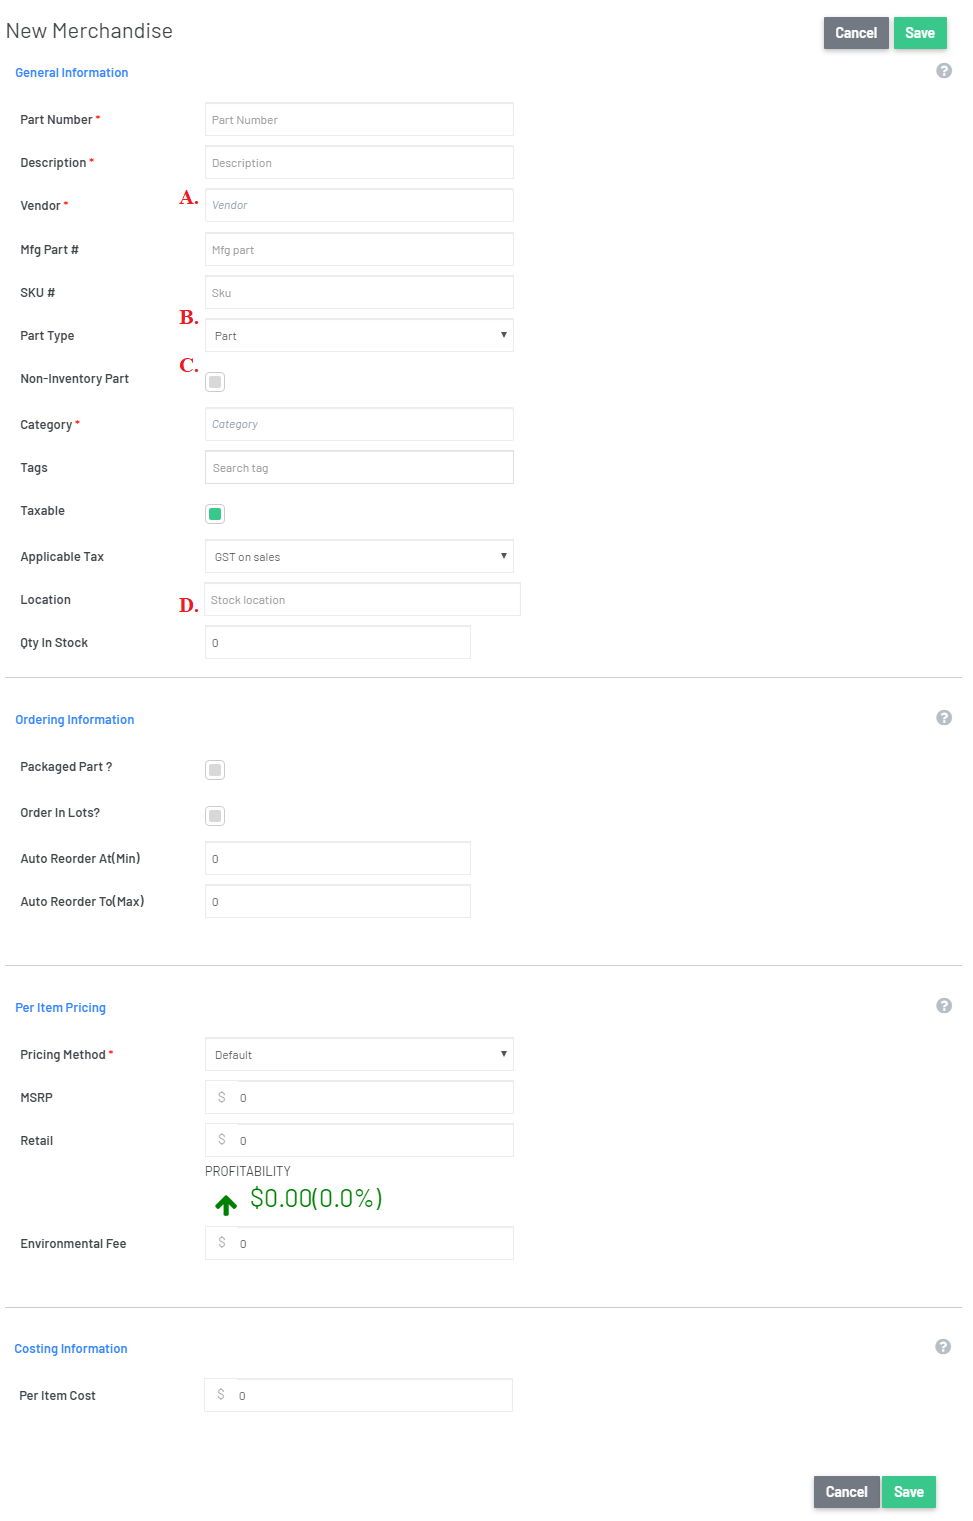
A. If you are creating a new part from a new Vendor, you will need to create the Vendor first
Review our article - How to Create / Add a New Vendor
B. For Part Type - if the Vendor for this part has been setup for Products and Services - Part Purchases
and Merchandise Purchases such as this Vendor:
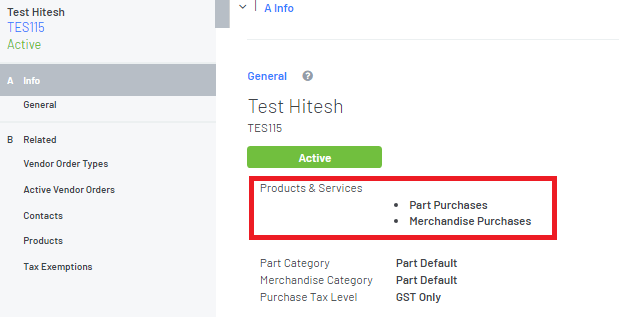
then on the Parts record - you will be required to select a Part Type:

For further information on Products & Services - please review our article - How to Setup Vendor Products and Services
C. This is the non-inventory part indicator
If you indicate that the part is a non-Inventory part, then you are basically telling Blackpurl that you do not want to keep track of quantities and/or average costs etc
If you add the non-inventory part to a Customer Order, it will automatically tell you it is in stock as it does not go through any Special Order VO/VR/VI process nor will you be able to order a non-inventory part
D. Quantity in Stock - when you first create a new part, you can enter in the Stock on Hand in this section
**For our Dealerships that have Accounting Integration, please be aware that if you do enter a quantity as Stock on Hand at this point, it will create a stock adjustment journal over to our accounting package based on the quantity and the cost entered
Debit - relevant Inventory General Ledger
Debit - relevant Inventory General Ledger
Credit - the default Stock Adjustment General Ledger
If you don't enter in a Quantity at this point, you will need to do a Part Stock Adjustment at a later date if you need Stock on Hand
Please review our article - How to Complete a Part Stock Adjustment
Was this article helpful?
That’s Great!
Thank you for your feedback
Sorry! We couldn't be helpful
Thank you for your feedback
Feedback sent
We appreciate your effort and will try to fix the article