This article will take you through on how to process a Vendor Return for Parts and also how to report on Vendor Returns
There are two steps to processing a Vendor Return
- Processing the return itself (Part Return)
- Processing the Vendor issued Credit Note against the Vendor Return (Return Credit)
It is a two step process because you may have multiple Vendor Returns that are attached to one Vendor Credit Note or one Vendor Credit Note for multiple Vendor Returns
Step 1 - Processing the Part Returns
This action would be required if you are returning parts to the Vendor
You must ensure that you have adequate available stock on hand for the relevant parts you wish to process a Vendor Return for, as Blackpurl will not allow the dealership to process a Vendor Return if there is not enough stock on hand for the relevant parts
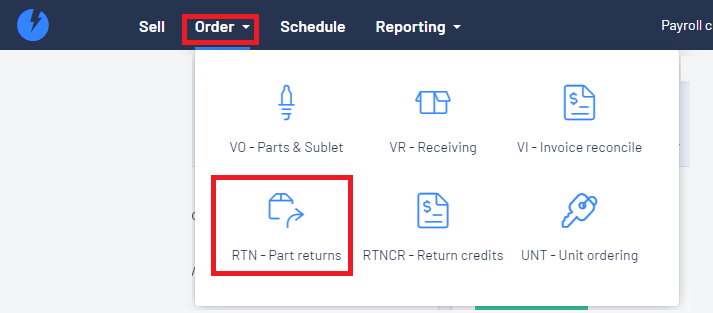
- From the Blackpurl Header > Click
 >
> 
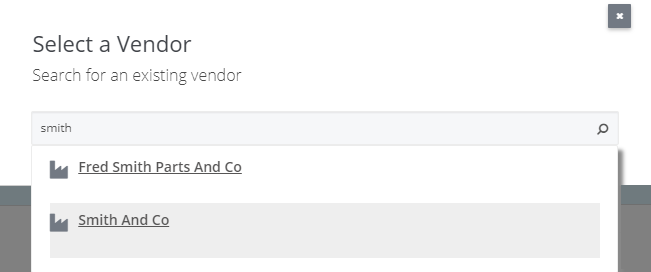
- The Select a Vendor window will allow the search of the relevant Vendor:
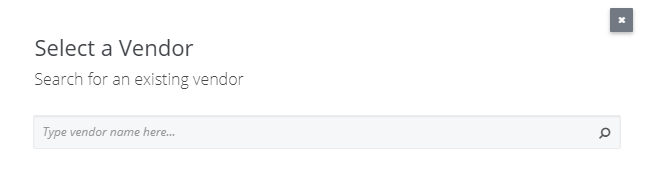
As you type your search keyword, the system will start listing the search results that match
In our example we are looking for the Vendor Smith and Co, we type in smith as the keyword > click on your Vendor name to select
The user can then fill out the top half of the Return VO ie Reason / Tracking # / RMA# etc

- There is now two options to add parts to this Vendor Return:
- Returning Parts to the same Vendor as listed on the Parts Record. If so, click >

- Returning Parts to a different Vendor then what is listed on the Parts Record. If so, click >

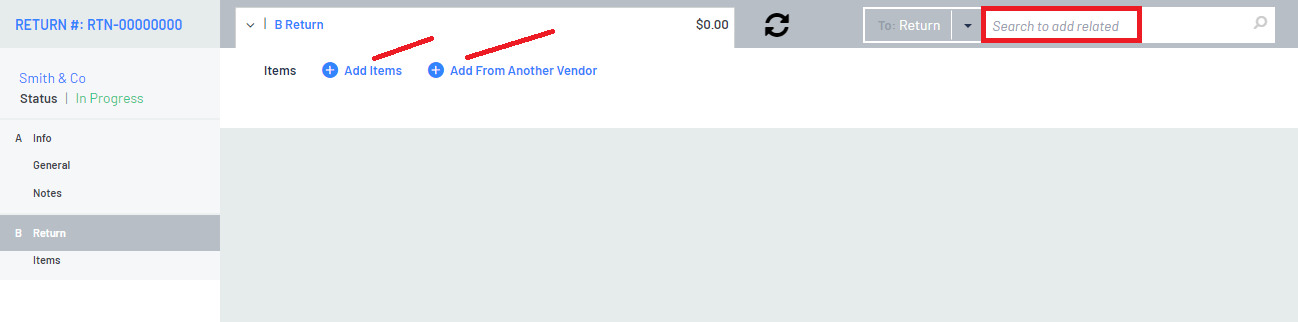
- In our example we are returning Part#1234ABC Brake Pad x 2 to the Vendor as per the Part Records so we click on
 and in the Search to Add field, search for the relevant part > click to select

Please remember that for the part you are selecting, there needs to be Available Stock on Hand in order to do a Vendor Return
Type in the RETURN QTY and change the ITEM COST (if applicable)
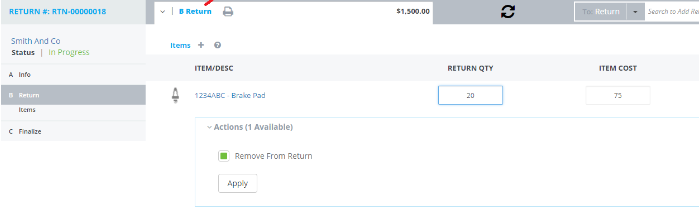
- Currently the status of the Vendor Return is In Progress

- If you have submitted your Vendor Return request to the Vendor > Click on

In the Submitted status, line items can no longer be added to this Vendor Return
However users are still able to modify quantities / cost or remove any line item altogether
- Once the Vendor has approved the Vendor Return and provided you with a Return Merchandise Authorization (RMA) number, enter the number in the RMA# field in the Info section of the Vendor Return and then click on

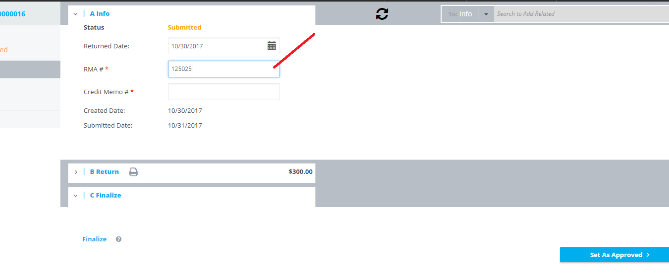
Approved status means that line items can no longer be removed and only the line items cost can be altered
When set to this status, the in stock quantity for the relevant Parts has now reduced by the quantity sent back and Blackpurl will use the RMA# as the reference number on the Cost Tracking Activities on the part record
- It is also at this point the accounting integration journals will be generated to the accounting software
- Debit - Inventory Accrual account (dealership is still waiting for a credit memo from the Vendor so until the Vendor Credit Note is received, the entry will sit in this clearing account)
- Credit - relevant Inventory account (dealership is returning goods so reducing your inventory value)
Step 2 - Processing the Return Credits
- Once you receive the Vendor's Credit Note , then the user will need to process the Return Credit
Click Order > 

- The Select a Vendor window will allow the search of the relevant Vendor:
As you type your search keyword, the system will start listing the search results that match
In our example we are looking for the Vendor Smith and Co, we type in smith as the keyword > click on your Vendor name to select
It will also allow the user to add the Credit Memo # and also select which Vendor Returns the user wants to be part of this Return Credit

 and searching for the relevant other charges ie Freight as it may be the case that the Vendor is refunding the freight to the Dealership as well
If the Vendor is charging the Dealership a restocking fee - you can add this in at this section as a negative value

3. Check all your figures and items to ensure that the Blackpurl Credit Memo total and the hard copy of
Vendor Credit Memo match and then click on 
This means that the line items can no longer be modified or removed and that the dealership has received and processed the Credit Memo from the Vendor with the final cost values now confirmed
Dealerships with Accounting Integration:
- Once the status is Credited, the relevant entries will be processed into the accounting software ie Vendor Accounts Payable document (Credit Note)
- Debit - Accounts Payable for the Vendor's Credit Note
- Credit - Inventory Accrual account (This account should go back to zero as it is a clearing account only)
How to Report on Vendor Returns
It may become necessary to run a report to show a list of Vendor Returns
By running this report on a regular basis you can ensure that your Dealership is process / finalising and received all relevant documentation ie Vendor Credit Notes in a timely manner
- From the Blackpurl Header > Reporting > Reports - Common Search > All Vendor Orders
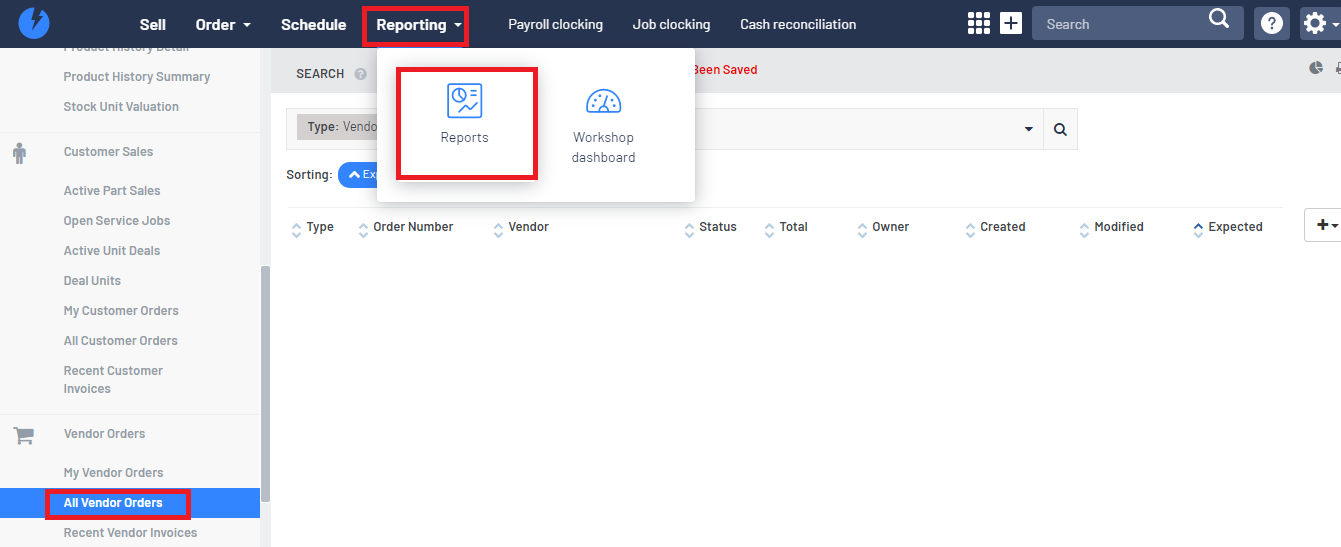
- As we only want a report on Vendor Returns, we need to change the parameters to suit
 and in the Contains filter, type in RTN
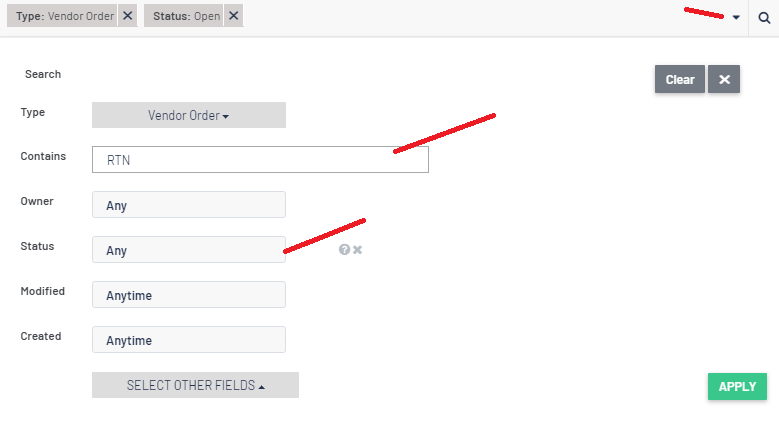
- Once you have changed the parameters to suit click on
 to generate the report
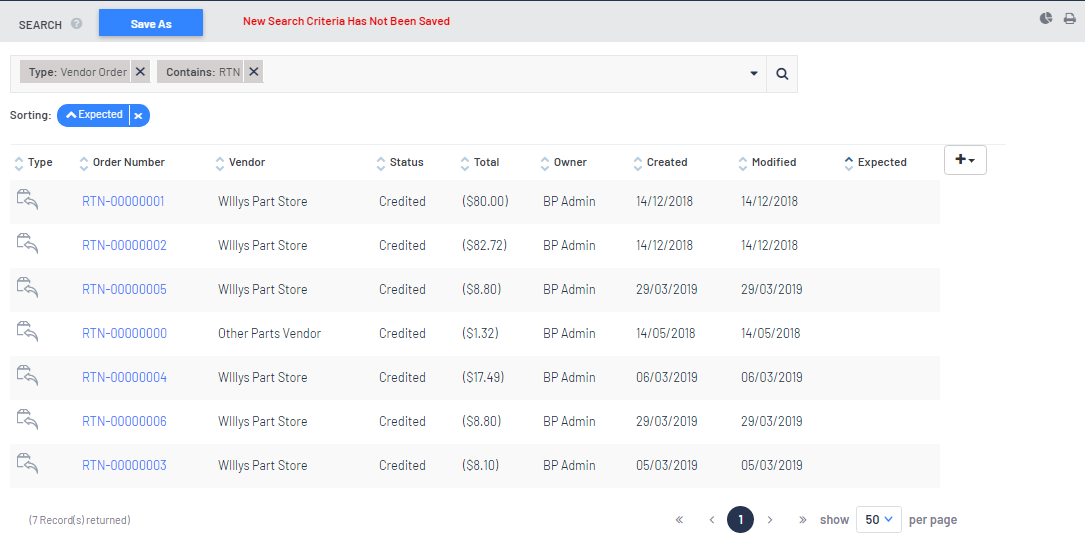
 and select or deselect the columns

