This article will show a user how they can manually amend a Part Record
There are several reasons why a dealership may wish to manually amend a Part Record - there may be a change in MSRP / Cost Price / Package / Auto Reorder / Retail Price / Lock down prices or descriptions / who modified the part record last etc
In the following articles we provide examples of changes you may want to make:
- Example One - Change Prices ie MSRP / Retail etc
- Example Two - Auto Reordering
- Example Three - Change the part to a packaged part
- Example Four - Lock down the Part Record for MSRP / Retail / Description
- Example Five - Add a Enviro Fee or Tire Levy to a Part Record
How to manually amend a Part Record
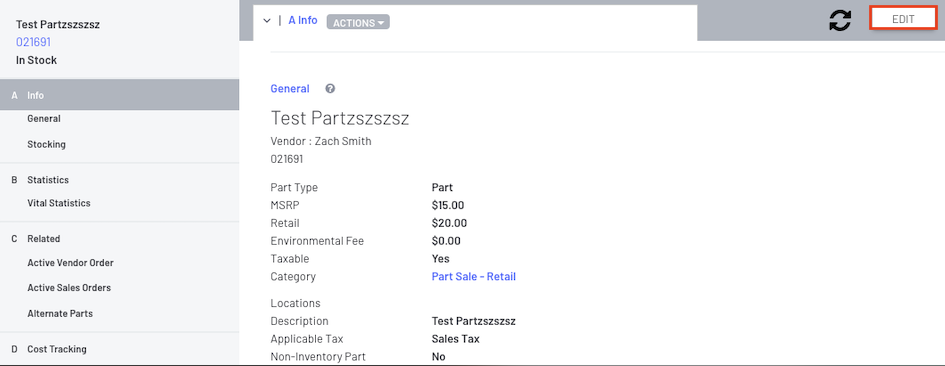
For any amendment to a Part Record, the user will need to navigate to the relevant Part Record
- Navigate to the relevant Part Record screen > click

- This will open up the Edit Merchandise window:
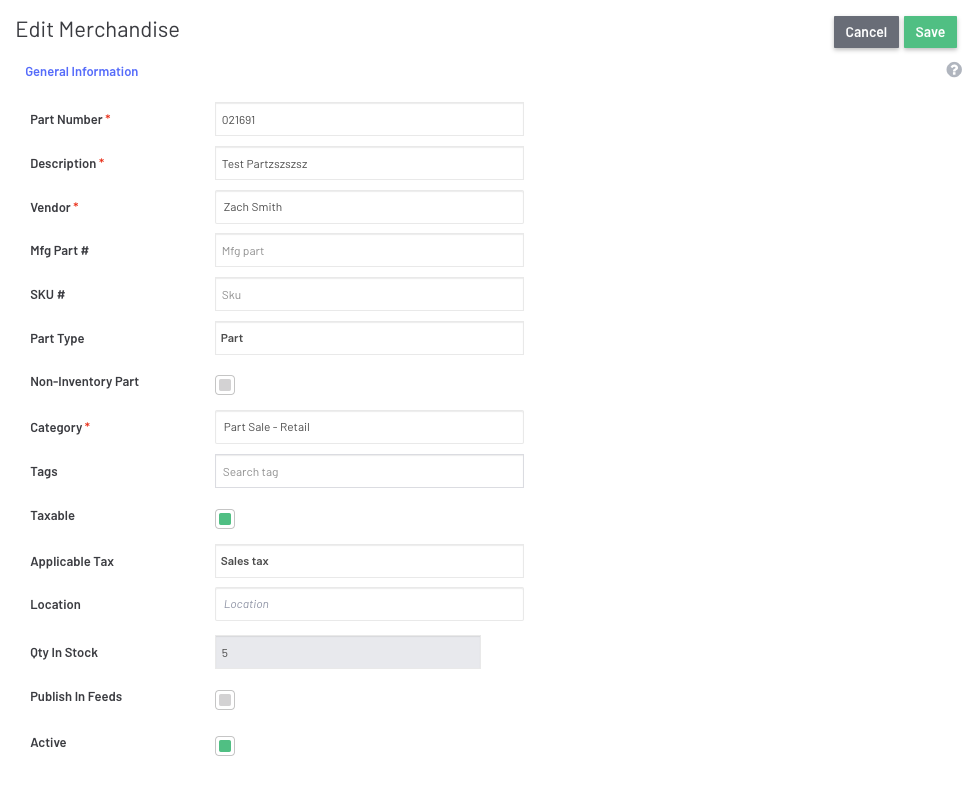
- Just scroll down to the field that you wish to change
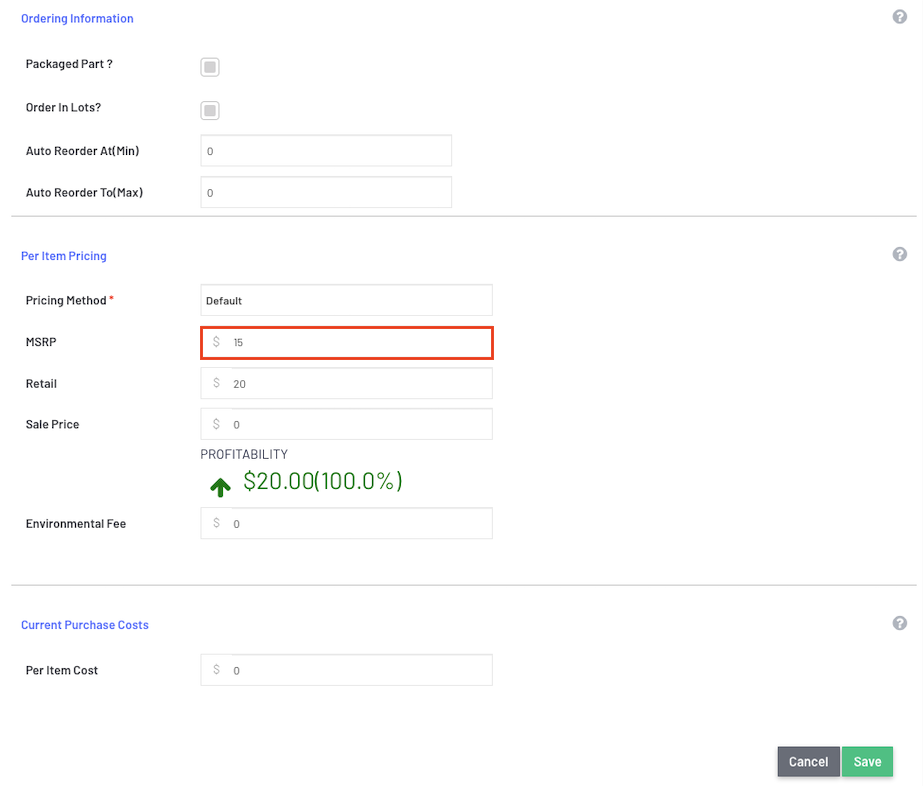
Example One
As we wish to change the MSRP from zero to $15.00, we have scrolled to the Per Item Pricing section on the Edit Merchandise window
Example Two
We want to introduce Auto Reordering to this Part Record
Scroll down to the section you want to change ie Auto-Reorder and add your MIN quantity value and MAX quantity value
This would mean that when the Available Stock gets down to the Minimum Qty then it will automatically add it as required for stock to the next Vendor Order you place for this Part Record' s Vendor up to the value of the Maximum Qty

Example Three
We want to change this Part Record to now be a packaged Part
Scroll down to the Ordering information section and then check the radio box to indicate that it is now a packaged part
It will also populate additional fields for you to complete

Example Four
Lock down the Part Record for MSRP / Retail / Description so that when importing of a new Price File, it will not override these fields back to what is included on the Price File
This will allow Dealerships that have manually change MSRP / Retail / Description to what they want them to be but then not have the Price File change it back to what the Vendor wants them to be
Dealerships will be able to lock down the pricing on the Part Record on these
On a Part Record, if you see the symbol -  next to the relevant fields, it means it is unlocked and will be updated when the relevant Vendor price file is imported
On a Part Record, if you see the symbol -  next to the relevant fields, it means it is locked and will be NOT be updated when the relevant Vendor price file is imported

To lock / unlock - on the EDIT screen, scroll to the relevant field and simply click on the lock icon to change
See example below where it sits next to the Description field

Example Five
You want to add an Environmental Fee or Tire Levy to certain Part Records
This means that each time you add this part to a Customer Order, it will automatically charge an Environment Fee or Tire Levy to the Customer Order as well
Set up the fee you want to use - How to Create / Add a New Fee and How to edit an existing Fee or you may want to use an existing fee that you already have in your Blackpurl
Navigate to the relevant Part Records that you want to add this Environment Fee / Tire Levy to and then click


From the Edit Merchandise screen, scroll down to the Environment Fee field

Type in the amount into the $ field that you want to add as the fee
Then another field will generate for you to select the Environmental Fee Code you want to use

The next time you add this Part Record to a Customer Order, it will also add the relevant Environment Fee
- Any changes that you make to Part Records, don't forget to finalise by clicking

Who Modified the Part Record
Keep in mind that that on each Part Record, it will record who and when the last time the Part Record was modified

Was this article helpful?
That’s Great!
Thank you for your feedback
Sorry! We couldn't be helpful
Thank you for your feedback
Feedback sent
We appreciate your effort and will try to fix the article